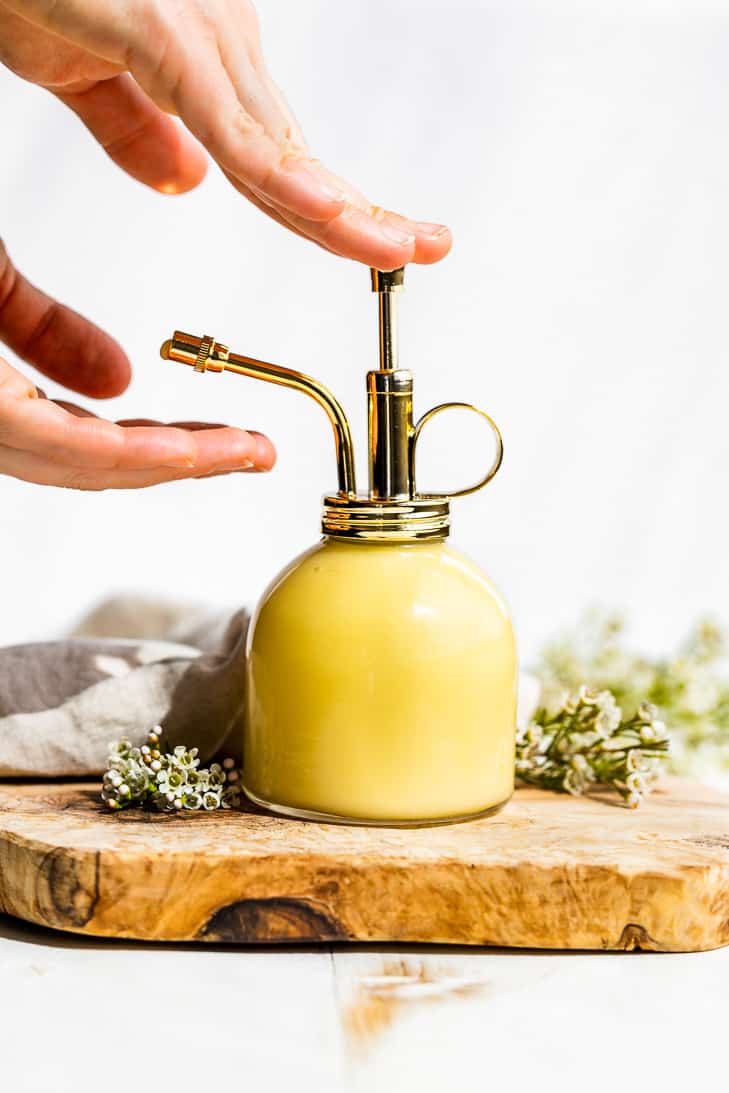
This is my favorite all-purpose lotion! It’s a mid-weight lotion that works well throughout the seasons, and it really moisturizes my skin without being greasy. I’ve been using it for many years (at least 15 years now!) since I first discovered that my skin hates almost any product I’ve ever purchased. A little while ago I had a request for a lotion containing shea butter, but after all kinds of testing and several batches of homemade lotion, I scrapped the shea butter and went back to coconut oil in my old standby recipe. Every lotion I’ve made so far with shea butter has been really unstable. After a couple of days, it seems to start separating a bit, and little bits of shea butter create a gritty texture in the lotion. Even though it melts when it touches the heat of your skin, I decided to go with something a bit less fussy. That being said, you can replace the coconut oil in this recipe with shea butter for an ultra moisturizing lotion that’s perfect for the winter months!
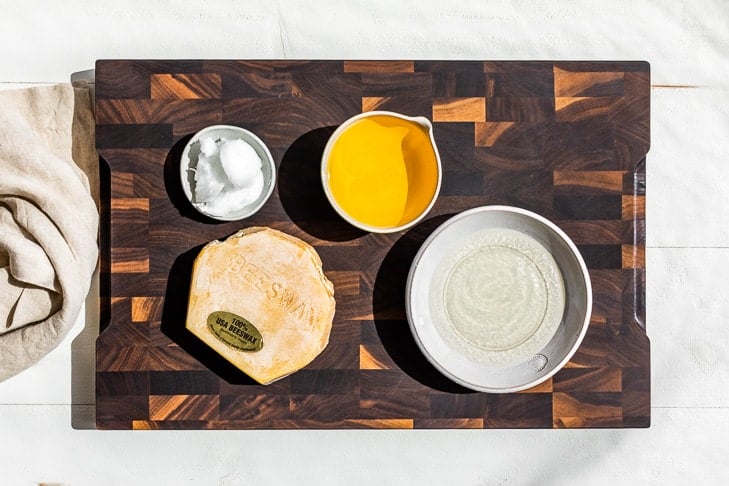
Let’s get started by talking about the ingredients for this Easy Buttercream Lotion!
Jojoba or avocado oil – I like to use either of these 2 oils because they’re easily absorbable for the skin. Jojoba is my favorite since it’s the closest to our own skin’s oil and absorbs well for me. Also you can get vanilla infused joboba oil that gives this lotion a nice ‘buttercream frosting’ smell.Coconut oil – adds body to this lotion as well as deep moisturizing as well.Beeswax – is what emulsifies the aloe vera with the oils and makes this lotion stable.Aloe vera gel – adds the perfect amount of hydration to this lotion. I don’t personally use fresh aloe vera gel in my lotion because it spoils too quickly, and would need to be refrigerated.Essential oils – are optional here and I rarely add them. I love the light vanilla smell from the vanilla jojoba oil mentioned in the recipe notes.
There are 3 critical things you need to know to make it super easy to make your own lotion!
- It’s really important to make sure you’ve completely melted the wax into the oil. If there are any bits of unmelted wax it will make you lotion gritty with bits of wax floating around in it.
- It helps to have all the ingredients at room temperature before starting. After the oil and wax have melted together, you add the aloe vera gel, and if it’s cold it can cause your lotion to seize up. If this happens, just rewarm it until it liquefies again.
- I like to place my lotion over an ice bath and whisk constantly for a couple of minutes until it thickens up, which really helps the lotion stay completely emulsified!
Now let’s make this recipe step by step!
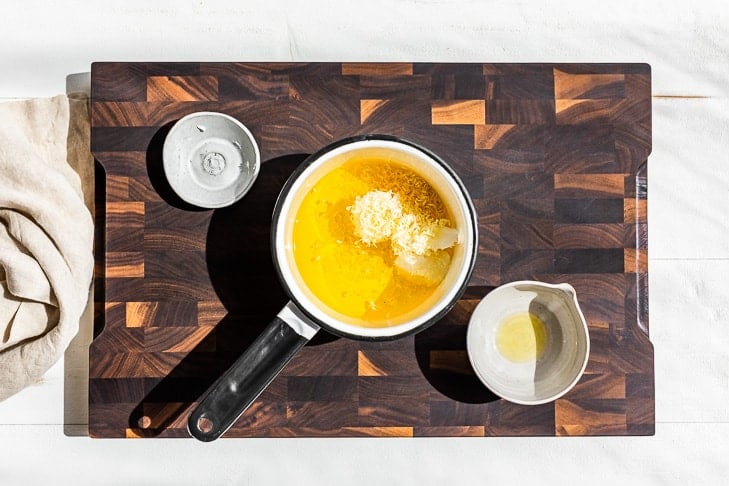
Step 1:
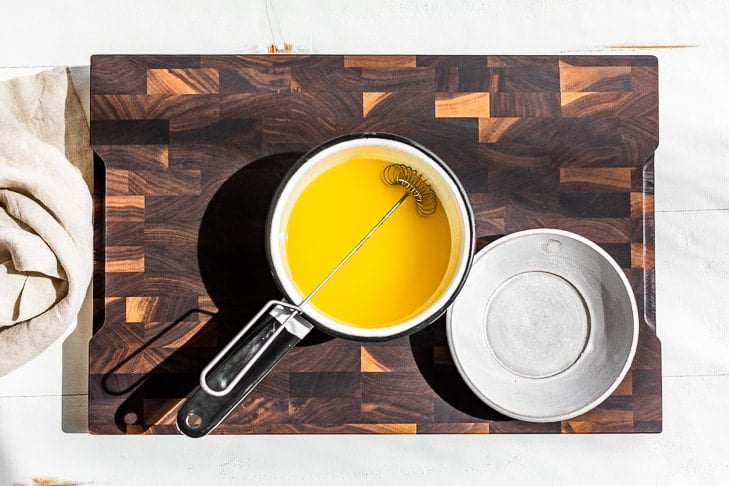
First up add the oils and beeswax to a small saucepan.
Step 2:
Next melt the oils and wax together. In this picture, you can see the oil and the wax have been completely melted together. At this point the liquid should be clear.
Step 3:
Then whisk in the aloe vera gel. It’s a bit loose at this point, but it’s definitely emulsified.
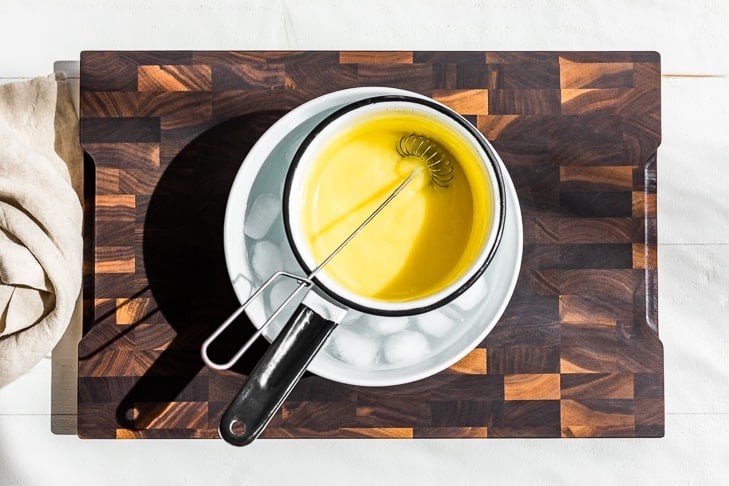
Step 4:
Next whisk your lotion over an ice bath until it thickens up and becomes a paler shade of yellow. It will become much thicker and you’ll notice it will start to leave ‘lines’ of lotion around the edges of the pan. When it’s first made it’s so loose it just falls back down the sides.
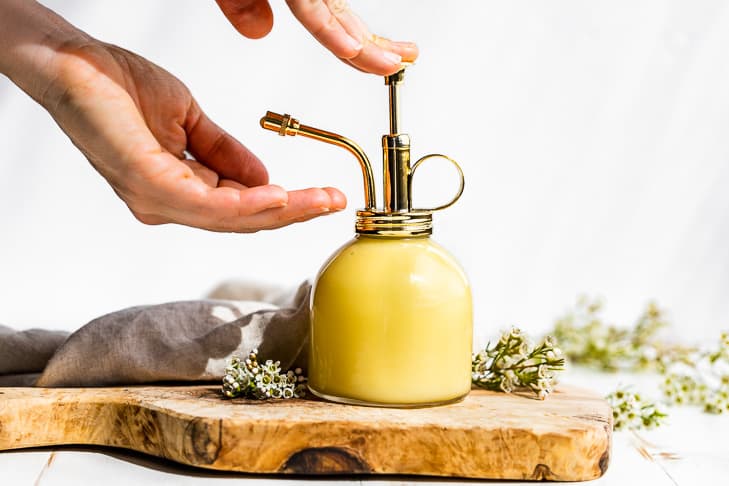
Step 5:
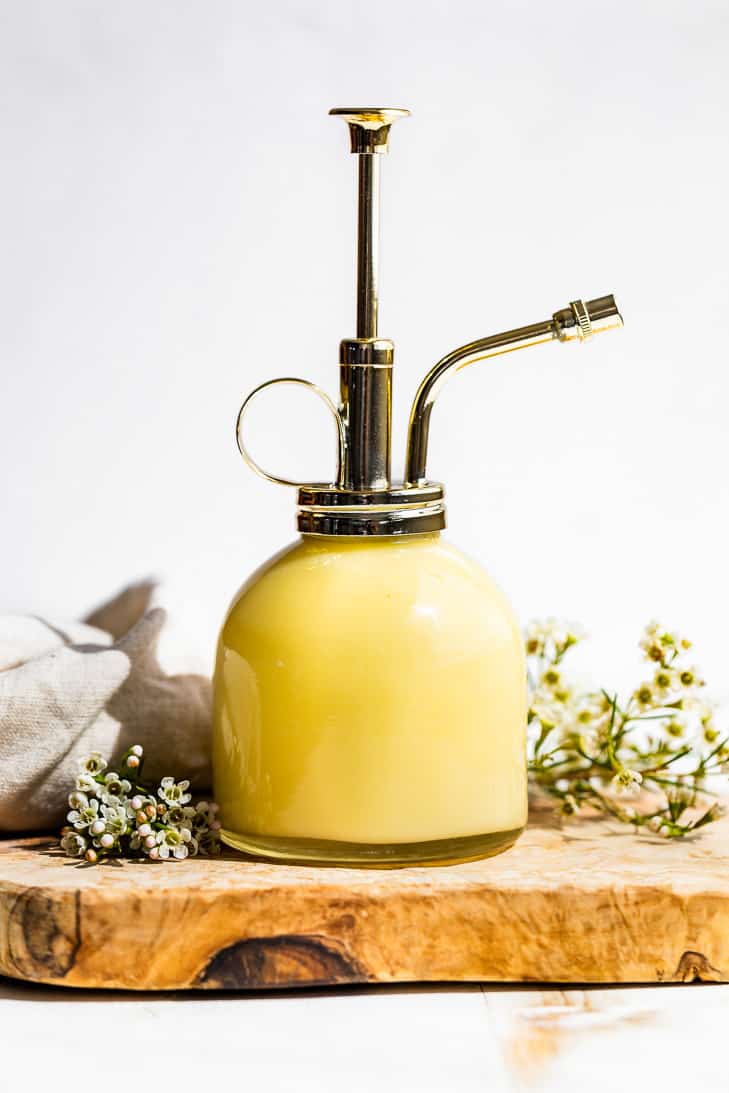
Once the lotion thickens, pour it into a clean container or pump dispenser. Use a funnel to make this part easier. I really like using some sort of pump dispenser which lengthens the life of any homemade product. I bought the one you see in the pictures at Target (where else right?). It’s important to keep your hands out of the lotion as much as possible because there are no preservatives in it. This post was originally published in 2015, but has been updated with new photos, prep photos, and more tips and information. 5 from 2 reviews 3 Tablespoon coconut oil 2 Tablespoons grated beeswax – weighing 1/8 ounce or 7 grams 6 Tablespoon aloe vera gel, at room temperature, I use the Desert Lilly brand Remove the pan from the heat and whisk in the aloe vera gel. At this point the mixture will be very loose. Next place the saucepan over an ice bath and whisk for 3-5 minutes until the lotion cools and starts to thicken. You’ll notice that it will start to leave lines of lotion on the edges or the pan instead of being totally liquid. Pour the cooled lotion into a clean container using a funnel, and use within 2 months. A pump type of container is best for keeping homemade products so they don’t get contaminated from our hands.